EZ Photo Sticker Maker Instructions
Please contact us at photojewelry@gmail.com with any questions or comments regarding the EZ Photo Resizer with EZ Crop. EZ Photo Sticker Maker - Mac and Windows version
1. Load the EZ Photo Sticker Maker into the CD drive on your computer. Follow the instructions to install the program.

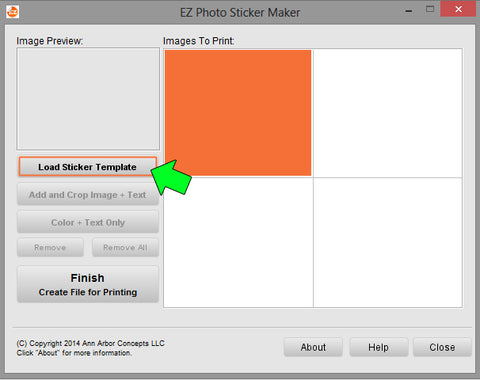
2. Once the program is open, click the "Load Sticker Template" button on the left side of the interface. Locate the template number on the outside of the envelope that your sticker sheets were contained in. Select the corresponding template and click "Load label sheet profile".

3. Select “Add and crop image + Text”. Select the image from your computer.

4. The image will open into EZ-Crop mode. Click “Select area to crop” on the top right hand side of the cropper window. Click and drag your mouse to select the desired area. Be mindful of the bleed area (the space between the yellow line and the dashed line) as anything in this area may not appear in your final sticker. Also be mindful of the ratio (see next paragraph for more info). Cropping Ratio You will need to crop the photo to the same general shape of the item you are resizing to. The “desired ratio” feature in the bottom right hand corner should help you crop your image to the correct dimensions. Just drag the crop tool until the actual ratio matches the “desired ratio” If you do not crop the image correctly, you may experience some stretching or distortion when your file is generated. When you are done selecting the area you wish to crop, select “Crop selected area”. You can save a separate copy of the single image you have cropped in jpeg format by checking the "save the cropped image on the computer" box at the bottom right hand side of the add text window. At this time you may also change your photo to black and white or antique color. Just click "Black and White" or "Antique" on the right hand side of the program. Click "undo" to go back to the original color.

You can fill the page with the same image by right clicking and selecting "copy to all cells".

4. After you have inserted your cropped photos and selected the size, click "Finish – Create file for printing”.
